
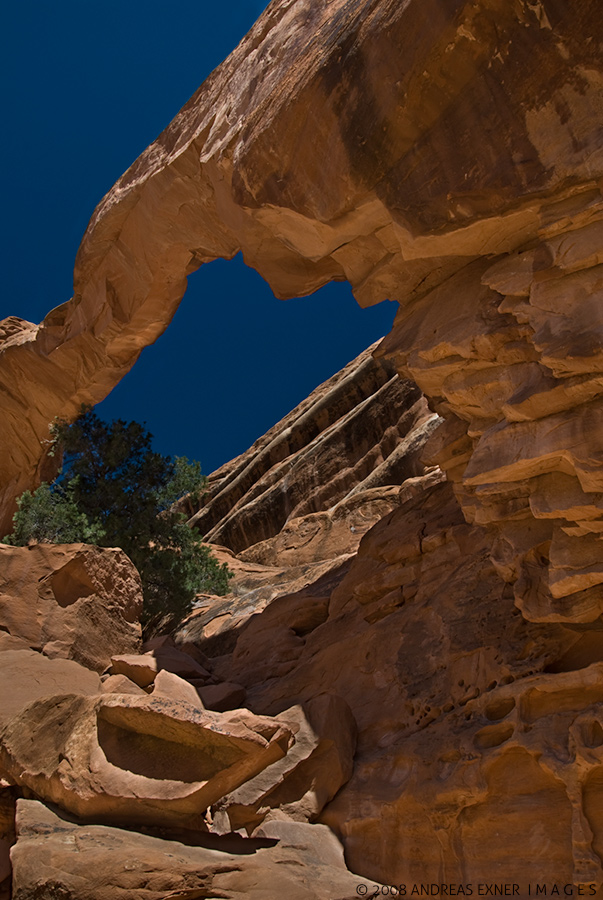
The photo I show you today was made April 18, 2008. You can't make the same picture anymore, not even if you go to exactly the same place at Arches National Park in Utah. This was Wall Arch, one of the numerous arches that gave the park its name. Wall Arch collapsed 109 days after I made the image. So what you see here is history.
We had only two days in the National Park and not every photograph was made during a time with good quality light. Any time after 8:30AM we had to deal with high contrast scenes and harsh light. I shot many images with five different exposures in order to overcome the limitations of the dynamic range in the digital camera, at that time my Nikon D200. Back home it was a time consuming process to layer the pictures on top of each other and paint with layer masks to reveal only the parts of each photo that I wanted in the final image. I remember it took me at least three nights to do that, partly due to the fact that my Photoshop skills were still very limited. Needless to say that I was very proud about my accomplishment. High Dynamic Range (HDR) software was not available or at least was not known to me at that time. The photo below was the result.
Because of its historic value, that it has at least for me, I wanted to redo this image with today's software and better technology. This time I used a 32-BIT HDR method that I learned a little while ago in Matt Kloskowski's blog "Lightroom Killer Tips" (see the link for this blog in the side bar on the left hand side). Starting in Adobe Lightroom I merged my five original RAW files into HDR Pro in Photoshop. From there I just saved the picture as a 32-BIT tiff-file back into Lightroom. What you will find is that the range of the Exposure slider has changed from ±5 to ±10, giving you a much wider range to work with shadows and highlights in your picture. The 32-BIT tiff-file gives you a humongous dynamic range to work with in comparison to the usual 16-BIT or 8-BIT we have at our hands.
I prefer a very natural look in my images and this method, without any ton mapping, works very well for my style of photography. But here is the best, it only took me about five minutes to create the final image from my five bracketed shots and can still use the tonal range of all five shots together.
As you can see, I cropped the new picture slightly just because I like it now better this way. Can't really say anymore, "I will do it right in camera next time I'm there".... ;-)